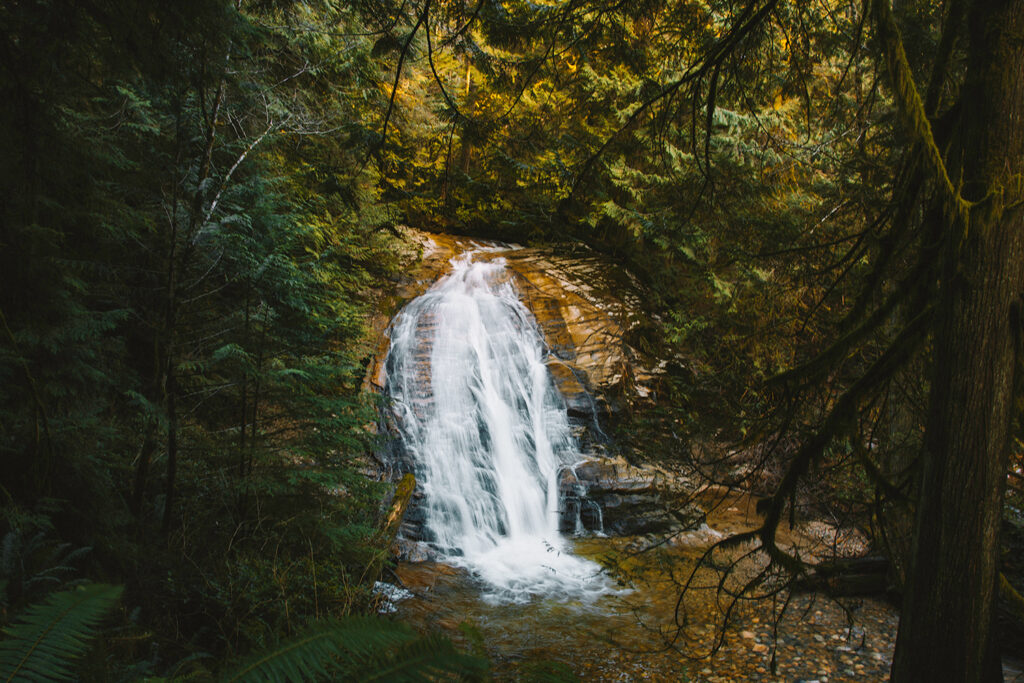
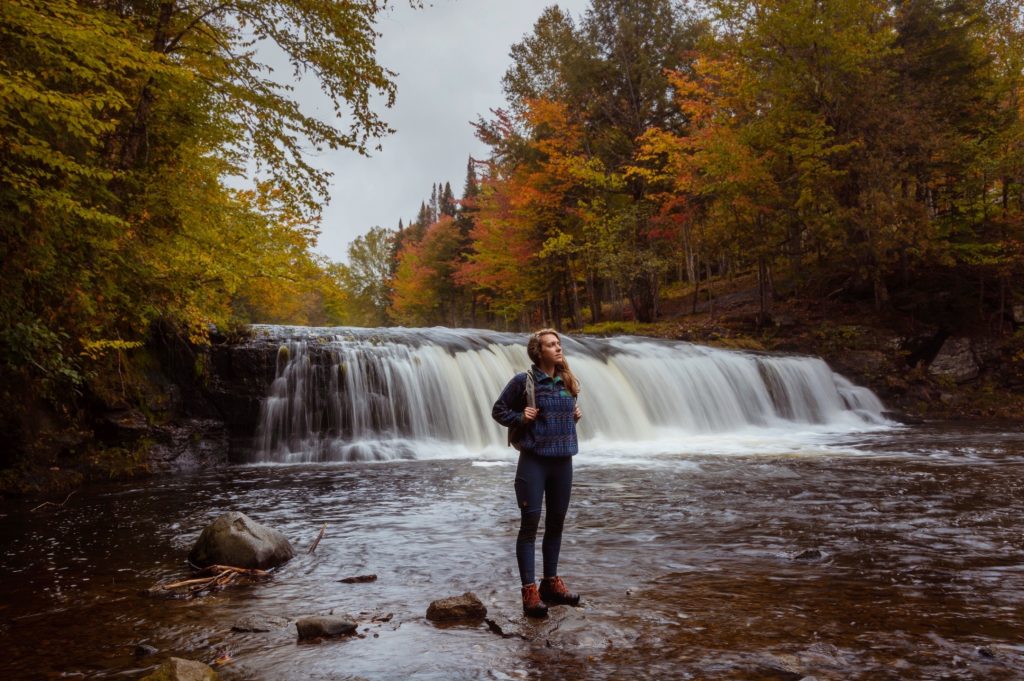
Ever wonder how people capture those smooth and silky waterfall shots? This blog post will teach you how to photograph waterfalls. With a little bit of practice and patience, you can capture shots like this one.

Slow Down Your Shutter Speed
The key to capturing that smooth water effect is to slow down your shutter speed. Shutter speed is the amount of time that your camera’s shutter remains open while taking a photo. Most digital cameras have a manual mode (M) that will allow you to do this. Adjusting the shutter speed will be different for every camera. You can consult your camera’s manual to figure out how to adjust this and other settings.
Use a Tripod
When you slow down your shutter speed your camera becomes more susceptible to “camera shake” which introduces blur to your photos. A tripod is a great solution to this. If you don’t have a tripod, you can try setting your camera on a rock, tree branch, or anything that helps you keep it more steady. The photo above was taken by pressing the side of my camera against a tree trunk which helped to stabilize the shot.
Adjust Your Aperture
You might notice that when you slow down your shutter speed that your photo becomes blown out. This is because the longer you keep your shutter open, the more light floods into your camera. No worries, you can fix this by adjusting your camera’s aperture. Aperture is the opening in your lens that allows light to come through. Your camera’s manual mode will allow you to adjust the size of the aperture to let less light in. Give yourself some time to play around with aperture and shutter speed until you hit a sweet spot where the water is smooth and your photo is properly exposed.

Reduce Your ISO level
Another way to reduce your camera’s sensitivity to light is to adjust the camera’s ISO level. The ideal ISO level for shots outside in bright conditions is around 100 – 200. A low ISO level will also ensure your photos don’t turn out grainy.
Consider an ND Filter
If you are taking waterfall photos in the bright afternoon sunlight, there’s a possibility that even with all these adjustments your photos are still going to be blown out. In this case, you need a neutral density filter (ND filter) to help cut down the amount of light even further. You can think of an ND filter as sunglasses for your camera lens. These can be purchased for fairly cheap. If this isn’t an option for you, just pick a time of day where the light is not as bright. The best time to shoot outdoor photos is at sunrise and sunset or what photographers call “golden hour.” A quick internet search will let you know what time golden hour is in your location.
Be Patient
My last piece of advice is to be patient. It takes time and practice to get used to adjusting your camera settings. It’s always a good idea to practice adjusting your settings before heading to your site. You should also give yourself some time to practice in the field. Eventually, adjusting these settings will become second nature to you.
I’d love to see your waterfall photographs. You can share them with me by tagging me on Instagram (@jenna.amirault). Happy shooting!